
Exploration & Map
How movement, tile types, fog of war, and the day/night cycle shape each run.
Tile Types
The dungeon map is a grid composed of two fundamental tile types. Every tile on the map is either a floor or a wall.
Floor
Open ground that costs 1 move to traverse. Most of the map is floor tiles.
Wall
Solid rock that must be dug through. Cost depends on your DIG stat.
Movement Costs
Walking onto a floor tile always costs 1 move. Digging through a wall tile costs max(2, 6 − DIG) moves. As your DIG stat increases, walls become cheaper to tunnel through, down to a minimum of 2 moves.
DIG Cost Table
| DIG Stat | Wall Cost (moves) |
|---|---|
| 0 | 6 |
| 1 | 5 |
| 2 | 4 |
| 3 | 3 |
| 4+ | 2 (minimum) |
Fog of War
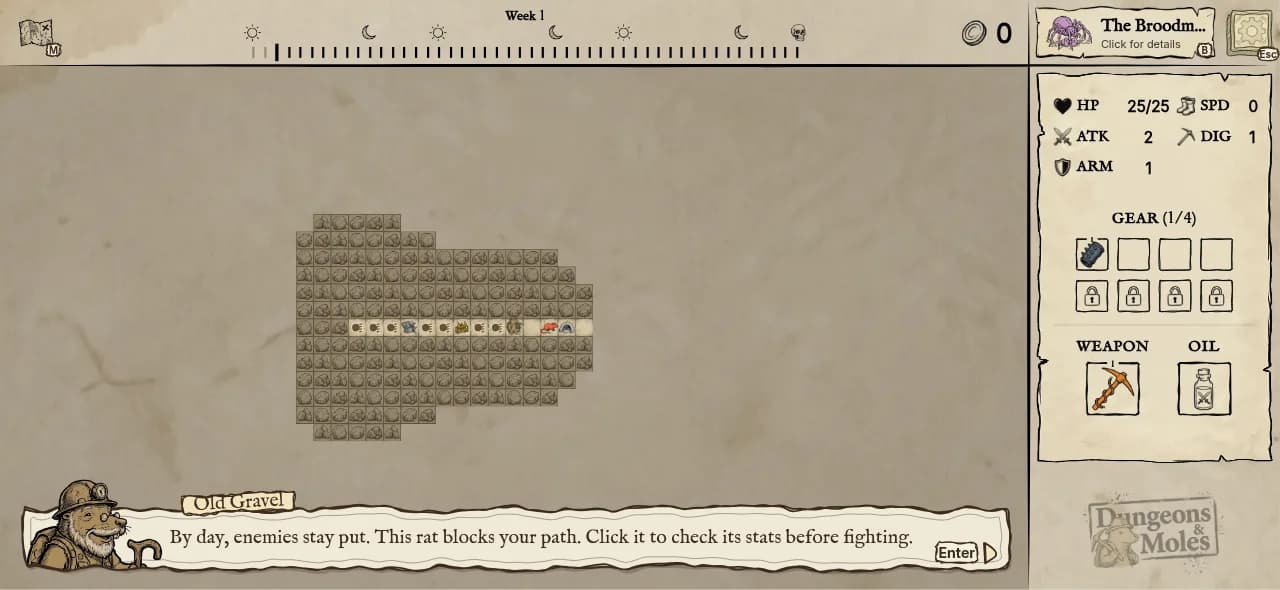
The map starts almost entirely hidden. Tiles are revealed in a radius around your character as you move, and the radius depends on the current phase. Once revealed, tiles remain visible for the rest of the run. Strategic exploration is key — you need to balance discovering new areas against conserving your limited move budget.
| Situation | Reveal Radius |
|---|---|
| At spawn (start of run) | 6 tiles |
| Moving during Day | 4 tiles |
| Moving during Night | 2 tiles |
Day & Night Phases
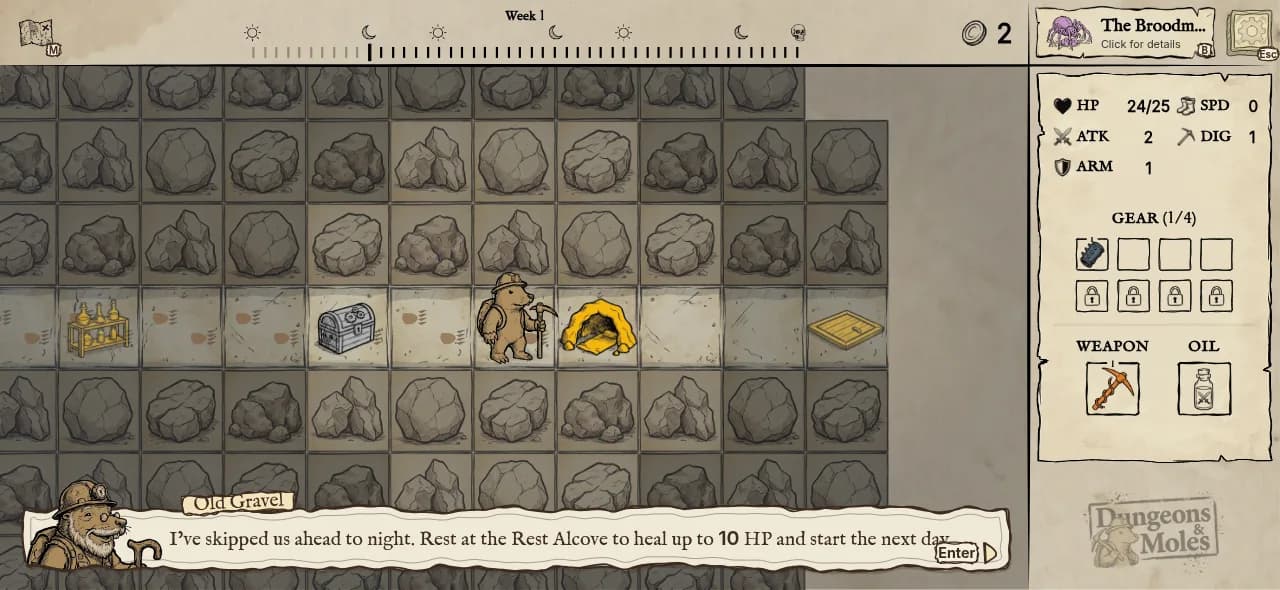
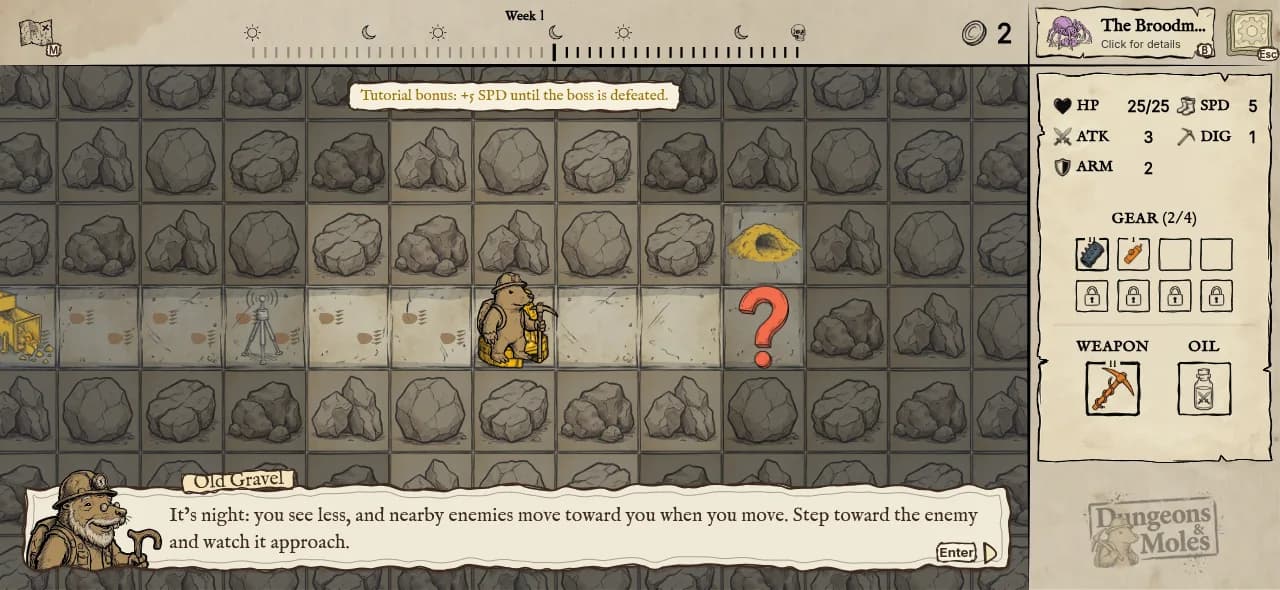
Each week alternates between Day and Night phases, each with different rules and move budgets.
Day Phase
Night Phase
Week Structure

A single week consists of 6 phases followed by a boss fight. The full sequence is:
The boss fight triggers automatically at the end of Night 3 regardless of the player's map position. A complete stage has 3 weeks (3 bosses).
Skip to Boss
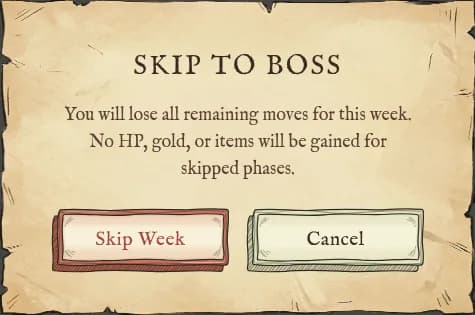
At any point during a week, you can choose to skip directly to the boss fight by tapping the skull icon in the top bar. This immediately ends all remaining Day and Night phases for the current week and triggers the boss encounter.
Skipping forfeits all remaining moves — no HP, gold, or items will be gained for the skipped phases. This is useful when:
Map Generation
Maps are procedurally generated from a seed determined at session creation. Key properties of map generation:
Acts
Beyond the week/day/night cycle, your campaign progress is grouped into four Acts, ten campaign levels each. Act controls how densely POIs are placed and how item/enemy rarity is weighted on the map — later acts are scarcer with resources and lean toward tougher fights.
| Act | Campaign Levels |
|---|---|
| Act 1 | 1 – 10 |
| Act 2 | 11 – 20 |
| Act 3 | 21 – 30 |
| Act 4 | 31 – 40 |
See the Points of Interest page for exactly how POI counts and item rarity shift act to act.